
Changes affecting common property can require strata approval, as the NSW Government explains. For apartment residents juggling limited space and security concerns, this makes checking the rules an essential starting point. Before choosing a cage, establish the permitted footprint, height and installation method with your strata manager.
When comparing durable cages work from your storage needs towards a written specification. List what you need to store, how often you need access and which site conditions need attention. Then assess materials, dimensions, airflow and locks together, rather than choosing from photographs or price alone.
Step 1: Confirm the location and permissions
Ask for your scheme’s requirements before requesting quotes. Submit a sketch showing the proposed cage, its door opening and nearby parking spaces. Ask whether fixing posts to the slab or adjoining walls needs approval. If you rent, involve your landlord in this process.
Request written confirmation of acceptable dimensions and any required clearances around services. Have the proposed layout checked for access to drains, meters, ventilation equipment and fire protection systems. Treat these as site questions to resolve, rather than assuming a neighboring cage establishes what your installation may include.
Step 2: Compare mesh construction
Welded mesh and chain wire describe panel construction, so examine their specifications separately from the frame material. WireCrafters explains that welded mesh joins wires at every intersection. For this option, request wire diameter, opening dimensions and details of how panels attach to their frames.
For chain wire, compare the same measurements. The BlueScope Distribution catalogue lists chainwire in different diamond openings, wire sizes and edge finishes. Ask to inspect a sample, including its edges and attachments. Avoid treating every product carrying the same mesh description as equivalent.
For either construction, ask the installer to explain how the complete enclosure addresses unauthorized entry. Include the door, panel connections, floor gaps and any open space above the walls in that discussion.
Step 3: Match the metal and finish to conditions
For steel components, ask exactly what corrosion protection is supplied. The Galvanizers Association describes galvanizing as providing both a protective barrier and sacrificial protection from zinc. Request coating details for the frame, mesh, welds and fixings, together with instructions for repairing installation damage.
Aluminium deserves consideration where handling weight matters. The Aluminum Association identifies its low weight and naturally protective oxide coating. However, ask for evidence supporting the proposed enclosure’s strength and suitability. Do not use the metal’s name as your sole measure of security.
Tell suppliers about dampness, salt exposure or cleaning chemicals at the site. Ask them to recommend a suitable finish in writing and explain warranty exclusions. Compare maintenance requirements alongside the purchase and installation costs.
Ask each supplier to quote against the same drawing and item list. Include delivery, installation, disposal of packaging and any finishing work. Request a separate price for optional features so you can compare proposals without losing track of essentials.
If your storage installation forms part of a larger renovation, review what happens during a home extension project when planning the work. Ask suppliers to itemise delivery, installation and finishing costs, and quote optional features separately for easier comparison.
Step 4: Measure for everyday use
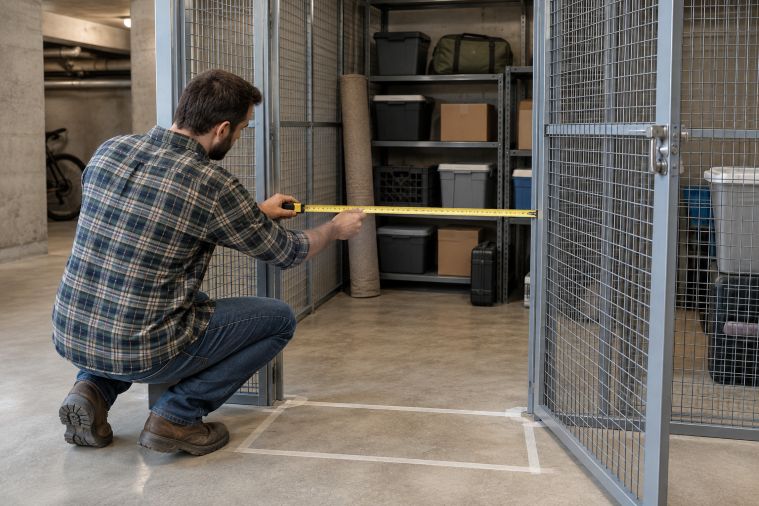
Measure available width, depth and height, then record your largest belongings. Include bicycle handlebars, shelving and bulky containers. Ask for internal usable dimensions and the clear doorway width, rather than relying on overall cage measurements.
Mark the proposed footprint and door movement on the floor. Practice carrying a large box through the entrance. Check that you can retrieve frequently used items without unloading everything. Ask for shelf load limits and approved attachment methods before planning vertical storage.
Step 5: Check airflow and visibility
Open mesh allows viewing and air circulation, as WireCrafters describes for its enclosures. Consider both features when arranging belongings. Discuss any privacy screening with the building manager before adding it, and avoid assuming an open cage resolves existing moisture problems.
The US Environmental Protection Agency recommends keeping indoor relative humidity below 60 percent, ideally between 30 and 50 percent where possible. For a damp basement, request investigation of leaks and condensation before installation. Include moisture management in your storage plan.
Step 6: Assess the complete locking arrangement
Police UK advises checking padlocks, exposed screws and removable hinges when securing outbuildings. Apply that whole-door assessment here. Compare a padlock arrangement with an integrated keyed lock, and ask a locksmith about compatibility, access needs and protection against tampering.
Before accepting installation, operate the door and lock several times. Request maintenance instructions and arrangements for replacement keys or hardware.
At handover, photograph the enclosure and note any damaged coating or misaligned hardware. Agree on corrections before signing off. Set a reminder to inspect the cage at the manufacturer’s recommended intervals.
Final checklist
- Confirm permissions, dimensions and service access.
- Record mesh, frame and coating specifications.
- Test the doorway and storage layout.
- Resolve moisture concerns and screening permissions.
- Check locks, hinges, fixings and maintenance instructions.
Keep the approved drawing and product details for future repairs. Choose an enclosure you can maintain as your storage needs change.